
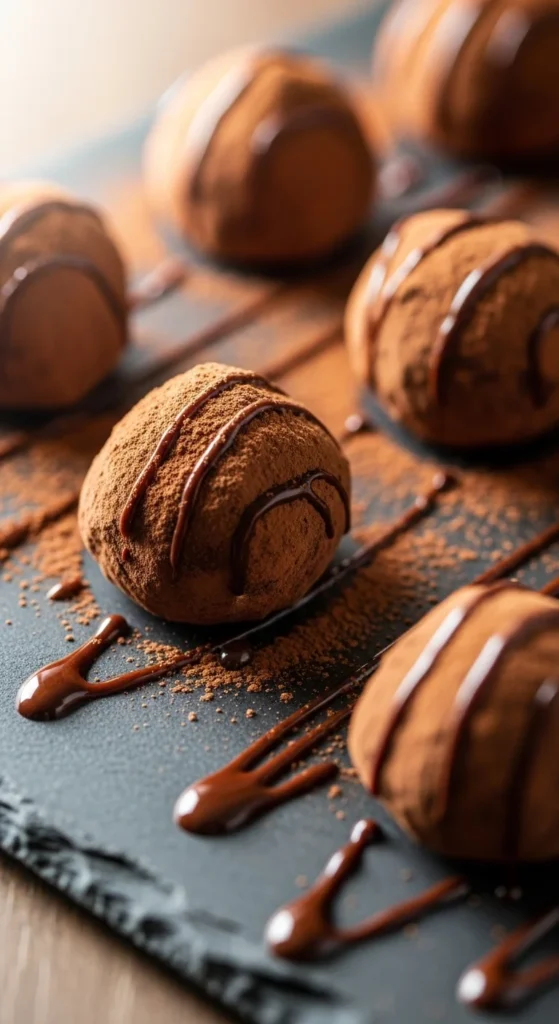
Smooth, rich, and melt-in-your-mouth — homemade chocolate truffles are the kind of treat that looks fancy but couldn’t be easier to make. You don’t need special tools or a pastry degree — just good chocolate, a little cream, and a few simple tricks.
Let’s make classic chocolate truffles in just three easy steps that anyone can master.
Why You’ll Love Making Truffles
Chocolate truffles are elegant, bite-sized indulgences that come together with minimal effort. They’re perfect for:
- Holiday gifts 🎁
- Dinner party desserts 🍷
- Valentine’s treats ❤️
- Or just your own sweet craving!
Once you learn the basic 3-step method, you can customize them endlessly — from dark chocolate espresso to white chocolate raspberry.
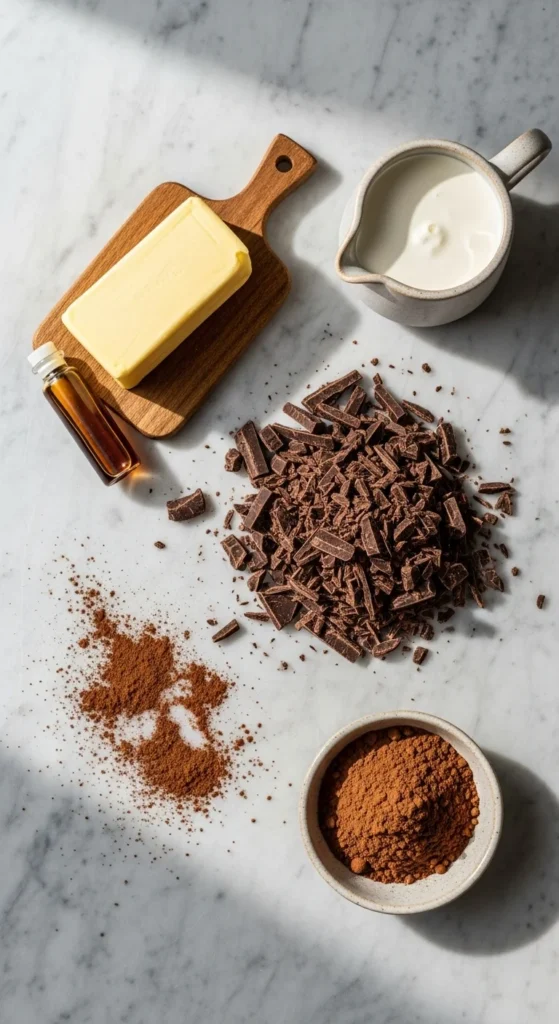
Ingredients
Here’s what you need for about 20 truffles:
- 8 oz (225 g) semi-sweet or dark chocolate, finely chopped
- ½ cup (120 ml) heavy cream
- 1 tablespoon unsalted butter, softened
- Optional flavor additions:
- ½ teaspoon vanilla extract
- 1 tablespoon liqueur (like Baileys, Kahlúa, or Grand Marnier)
- Pinch of sea salt
- ½ teaspoon vanilla extract
For rolling:
- Unsweetened cocoa powder, chopped nuts, shredded coconut, or melted chocolate
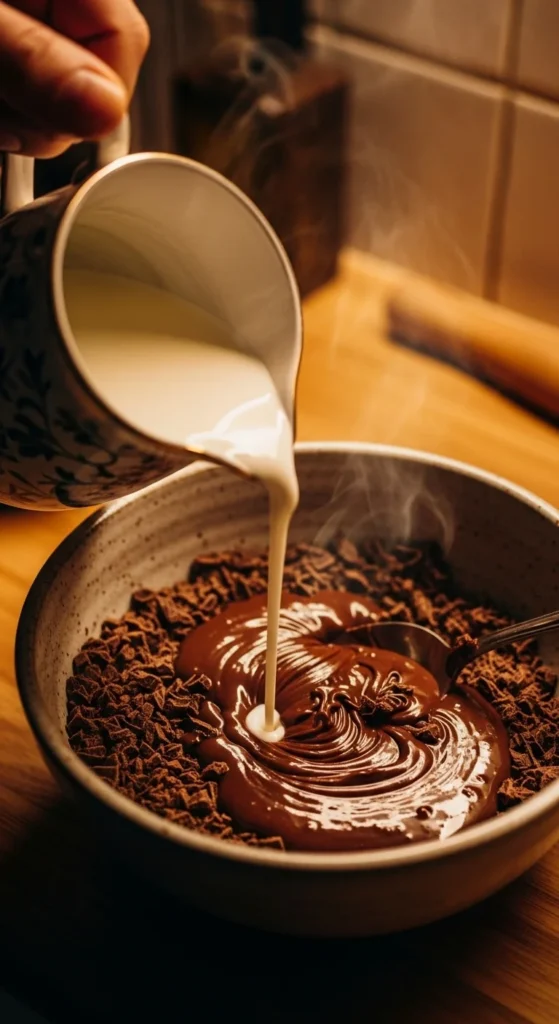
Step 1: Make the Ganache
Ganache is the smooth, chocolatey base for your truffles.
- Heat the heavy cream in a small saucepan over medium heat until it just begins to simmer — don’t let it boil.
- Pour the hot cream over the chopped chocolate in a heatproof bowl.
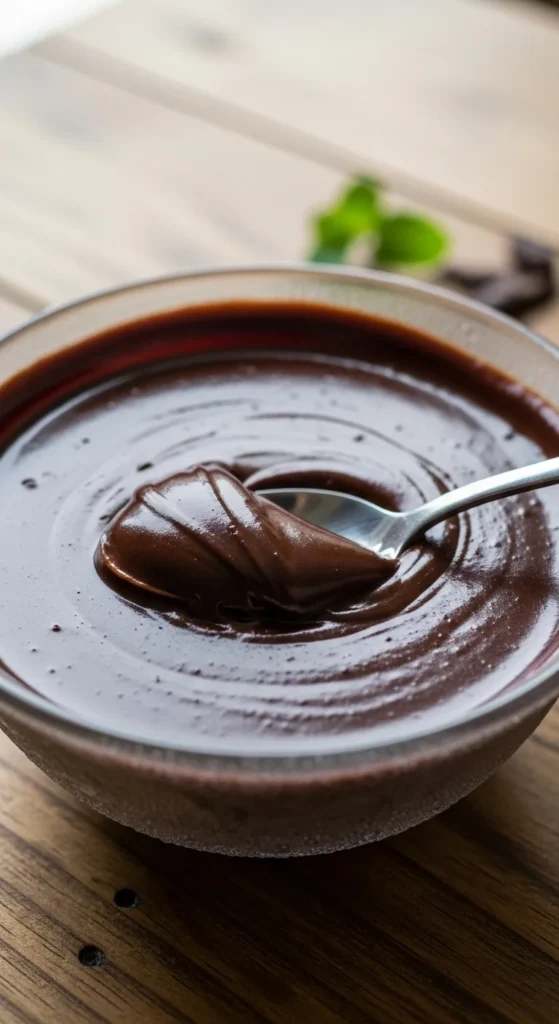
- Let it sit for one minute to melt, then stir gently until smooth and glossy.
- Add the butter and any optional flavors (vanilla, salt, or liqueur). Stir until fully incorporated.
Tip: If the ganache looks grainy, microwave it for 5–10 seconds and stir again until silky.
Step 2: Chill the Mixture
Cover the bowl with plastic wrap and refrigerate for 1 to 2 hours, or until the ganache is firm enough to scoop but not rock solid.
If you’re short on time, you can speed it up in the freezer for 30 minutes — just check every 10 minutes so it doesn’t harden too much.
Pro Tip: For evenly sized truffles, use a melon baller or small cookie scoop to portion the mixture before rolling.
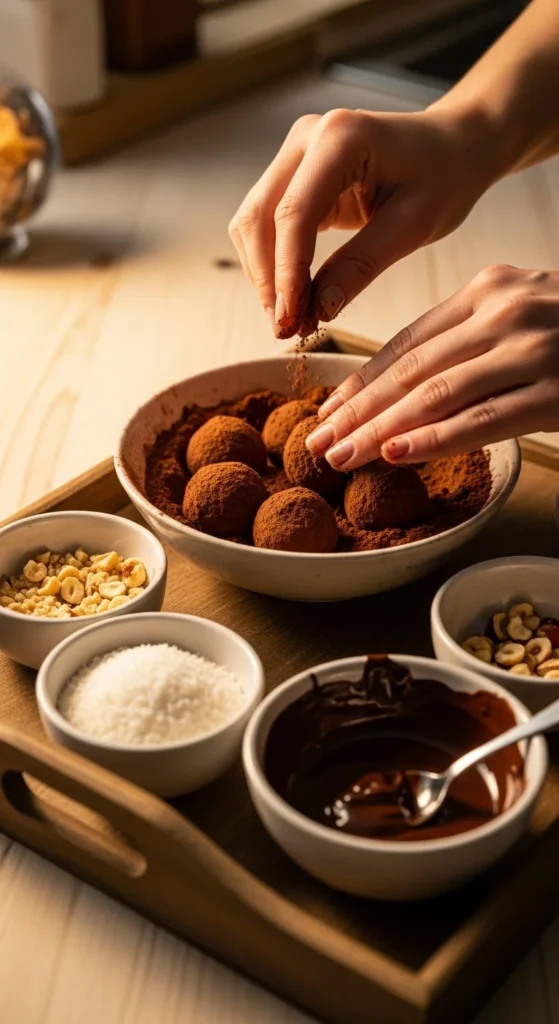
Step 3: Roll and Coat the Truffles
Now for the fun part!
- Scoop small portions of the chilled ganache and roll them quickly between your palms to form smooth balls.
- Roll each truffle in your favorite coating:
- Classic: unsweetened cocoa powder
- Crunchy: finely chopped nuts or toasted coconut
- Luxurious: dip in melted chocolate for a glossy shell
- Classic: unsweetened cocoa powder
Place the finished truffles on parchment paper and refrigerate again for 15–20 minutes to set.
Optional Variations
Once you’ve mastered the basics, try some creative twists:
- Mocha Truffles: Add 1 teaspoon espresso powder to the ganache.
- Hazelnut Truffles: Add crushed hazelnuts or Nutella.
- Mint Truffles: Stir in peppermint extract and roll in crushed candy canes.
- Salted Caramel Truffles: Add a spoonful of caramel to the center before rolling.

Storing Your Truffles
- Keep truffles in an airtight container in the fridge for up to 2 weeks.
- For the best flavor, let them sit at room temperature for about 10 minutes before serving.
- Freeze for longer storage — they’ll last up to 3 months if tightly sealed.
Tips for Success
✅ Use high-quality chocolate — it’s the star ingredient.
✅ Avoid overheating the cream — gentle heat keeps it silky.
✅ Roll quickly to prevent melting in your hands.
✅ Keep coatings dry for a neat, non-sticky finish.
Final Thoughts
Homemade chocolate truffles are proof that a few simple ingredients can create something truly special. 🍫✨
They’re elegant enough for a dinner party yet easy enough to whip up on a weeknight. Once you make your first batch, you’ll see why they’re such a beloved classic — and how fun it is to customize them with your favorite flavors.
So grab some good chocolate, roll up your sleeves, and treat yourself — these 3-step truffles are pure joy in every bite.
💝 Save this recipe and share it with a fellow chocolate lover!

Leave a Reply