
Chocolate bark is one of the easiest treats you can make, yet it always feels special. It’s glossy, snappy, and packed with texture from sweet and salty mix-ins. Best of all, there’s no baking required. With just a few ingredients and a little creativity, you can make chocolate bark that looks beautiful and tastes even better.
Whether you’re making it for gifts, parties, or a simple homemade treat, chocolate bark is forgiving and fun. This guide walks you through the basics and shows you how to customize it with your favorite flavors.
What Is Chocolate Bark?
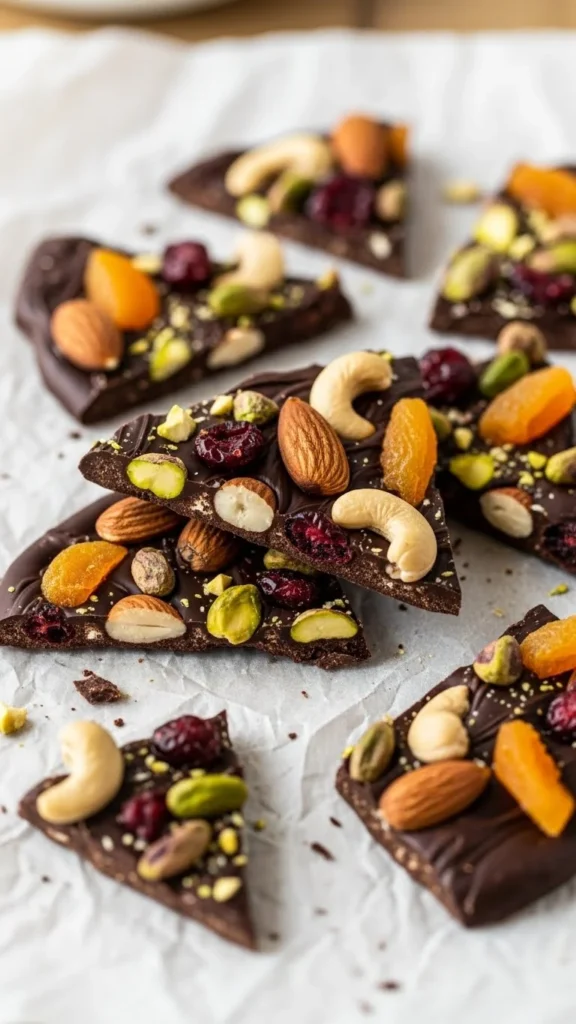
Chocolate bark is a thin layer of melted chocolate spread flat and topped with mix-ins. Once set, it’s broken into irregular pieces that look rustic and inviting.
Why people love it:
- No oven needed
- Endless flavor combinations
- Easy to scale up or down
- Perfect for gifting
It’s less about precision and more about creativity.
Choosing the Right Chocolate
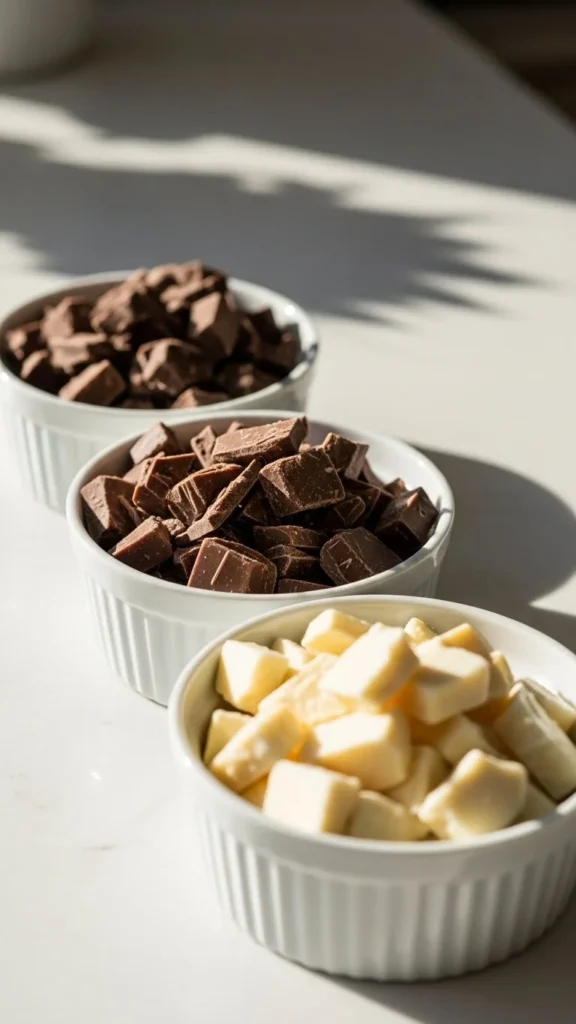
Chocolate is the star, so choose wisely.
Best options:
- Dark chocolate (rich and slightly bitter)
- Milk chocolate (sweet and creamy)
- White chocolate (sweet and decorative)
Tips:
- Use baking bars instead of chips
- Chop chocolate evenly for smooth melting
- Choose chocolate you enjoy eating on its own
High-quality chocolate melts smoother and sets with a better snap.
How to Melt Chocolate Smoothly
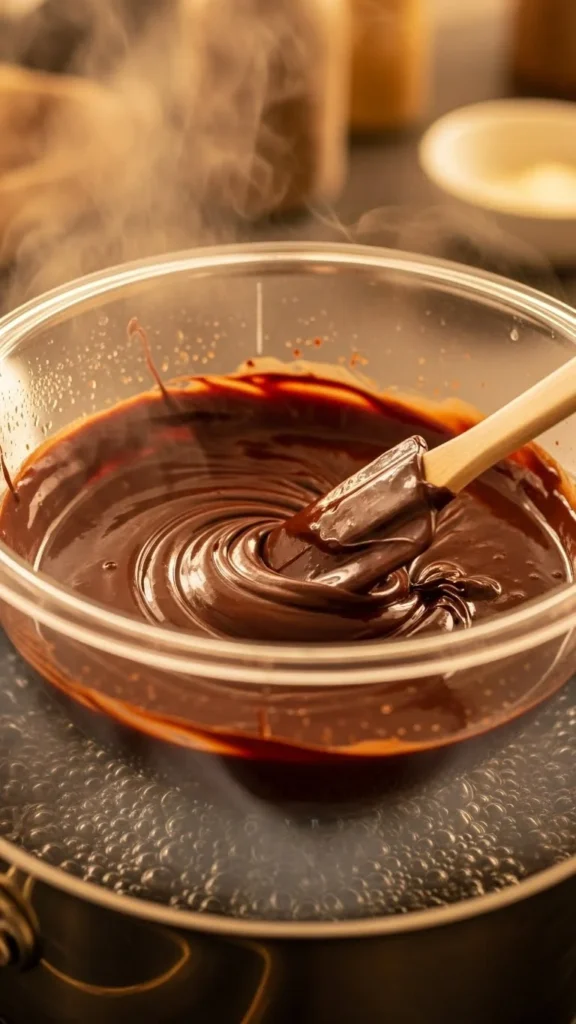
Gentle heat prevents burning.
Two easy methods:
- Double boiler
- Microwave in short bursts
If microwaving:
- Heat in 20–30 second intervals
- Stir between each round
- Stop when mostly melted and finish stirring by hand
Avoid overheating. Scorched chocolate becomes thick and dull.
Picking the Best Mix-Ins
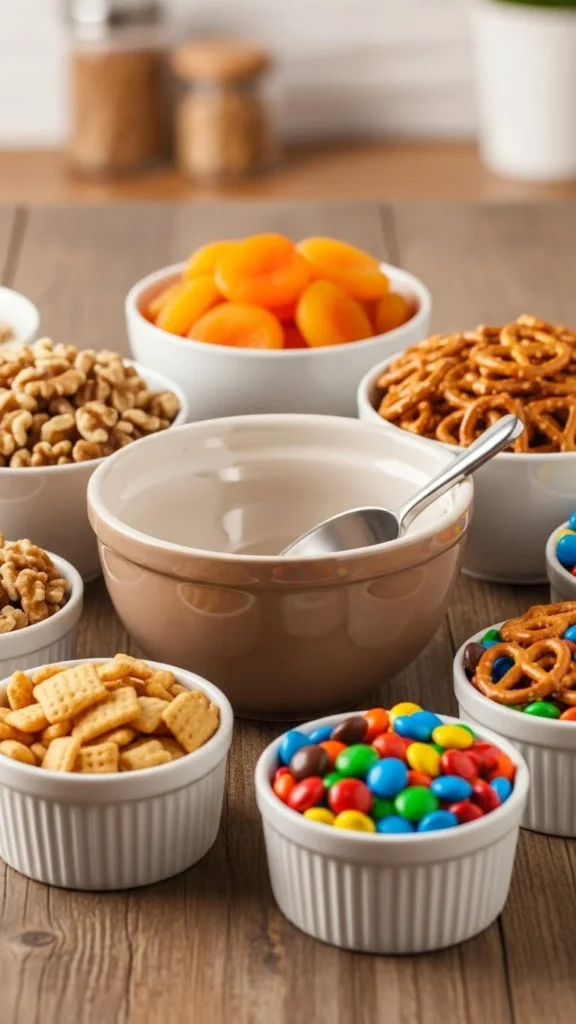
This is where bark becomes personal.
Popular mix-ins:
- Toasted almonds or pistachios
- Dried cranberries or cherries
- Pretzel pieces
- Sea salt flakes
- Mini candies
Helpful tips:
- Use dry ingredients only
- Chop large pieces small
- Balance sweet and salty
Too many toppings can overpower the chocolate, so choose a few that work well together.
Assembling the Chocolate Bark
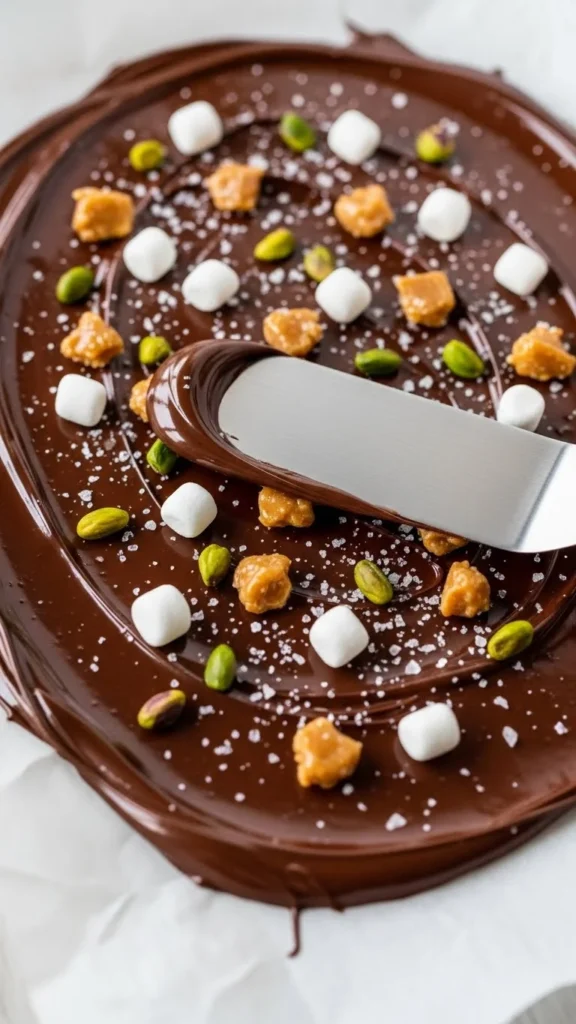
Line a baking sheet with parchment paper.
Steps:
- Pour melted chocolate onto the sheet.
- Spread into a thin, even layer.
- Sprinkle mix-ins while chocolate is still warm.
- Press toppings gently so they stick.
Work quickly. Once chocolate starts to set, toppings won’t adhere as well.
Letting the Bark Set Properly
Chocolate bark needs time to firm up.
Options:
- Room temperature for a glossy finish
- Refrigerator for faster setting
If chilling:
- Place flat in the fridge
- Avoid stacking
- Let sit 20–30 minutes
Once firm, lift the bark and break into pieces by hand.
Flavor Ideas to Try
You can mix and match endlessly.
Easy combinations:
- Dark chocolate + sea salt + almonds
- Milk chocolate + pretzels + caramel bits
- White chocolate + dried fruit + pistachios
- Swirled dark and white chocolate with crushed cookies
Swirling two chocolates together adds visual interest without extra effort.
Common Chocolate Bark Mistakes to Avoid
Avoid these:
- Using wet toppings
- Overheating chocolate
- Spreading chocolate too thick
- Overloading with mix-ins
Simple adjustments lead to cleaner results.
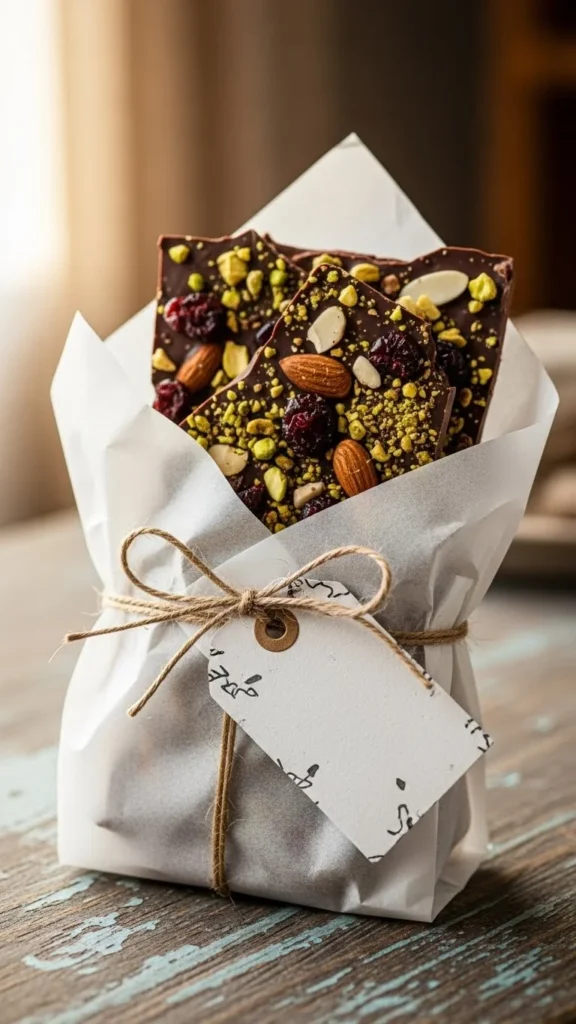
Storing and Gifting Chocolate Bark
Store bark:
- In an airtight container
- In a cool, dry place
- Away from sunlight
For gifting:
- Wrap in parchment
- Place in boxes or jars
- Add a handwritten label
Chocolate bark keeps well for up to two weeks.
Final Takeaway
Chocolate bark is proof that simple treats can be impressive. With good chocolate and thoughtful mix-ins, you can create a dessert that looks beautiful, tastes amazing, and takes very little effort.
Once you try it, you’ll find yourself making different versions for every season and occasion.
Save this recipe for later and enjoy creating your own chocolate bark combinations anytime. 🍫✨

Leave a Reply