
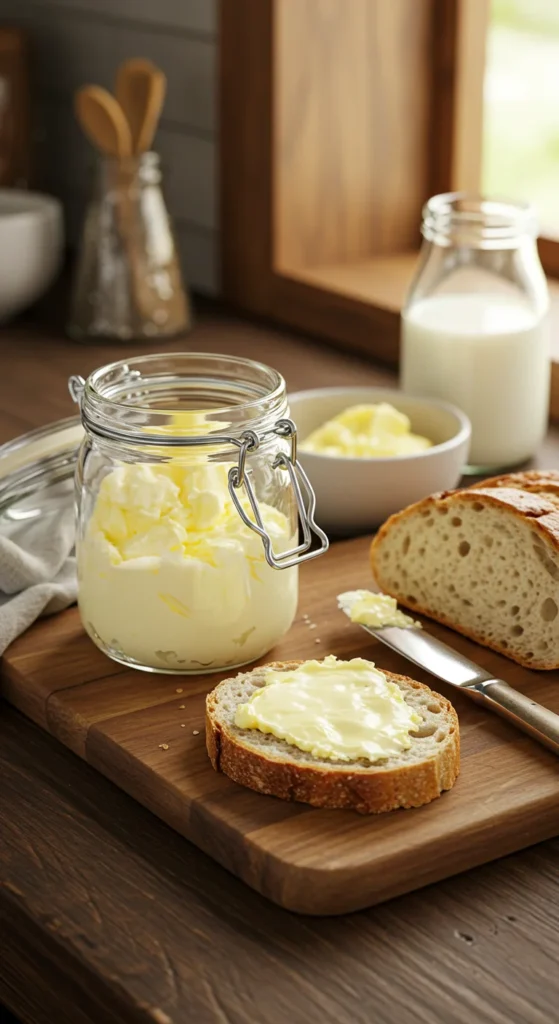
Store-bought butter is convenient, but there’s something special — even magical — about churning your own. It’s creamy, rich, and unbelievably fresh. And the best part? You can make real homemade butter in just 10 minutes using one simple ingredient: heavy cream.
No churn, no fancy equipment — just your hands, a jar, or a mixer. Once you try this, you’ll never see butter the same way again.
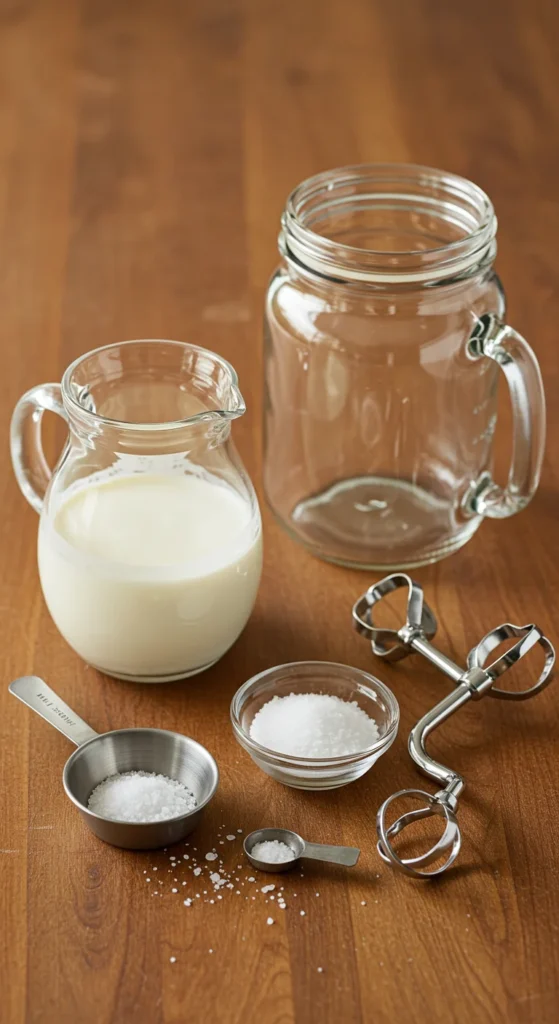
Step 1: Gather What You Need
You’ll be amazed by how simple this process is. All you need are:
- 1 cup heavy whipping cream (not ultra-pasteurized, if possible)
- Pinch of salt (optional — for salted butter)
- A mason jar with a tight lid, a stand mixer, or a hand mixer
- A fine-mesh strainer or cheesecloth
That’s it — butter in its purest form.
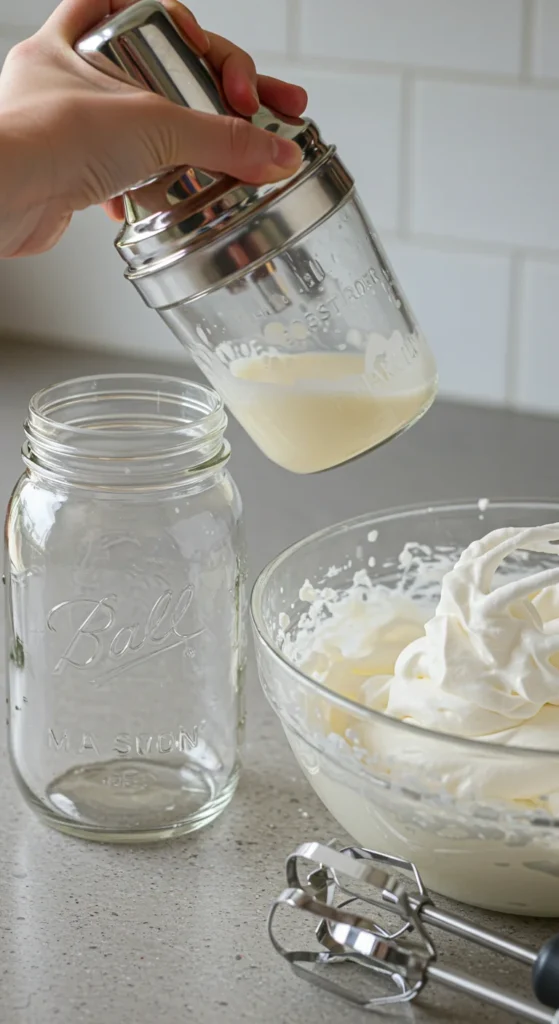
Step 2: Pour & Shake (or Mix)
If you’re using a jar method (great for kids or a fun activity):
- Pour the cream into the jar, filling it halfway so there’s room to shake.
- Secure the lid tightly.
- Shake vigorously for about 5–8 minutes.
You’ll notice three stages:
- Stage 1: The cream thickens into whipped cream.
- Stage 2: It becomes dense and grainy.
- Stage 3: Suddenly, the butter separates from the liquid (buttermilk).
If you’re using a mixer, just beat the cream on medium-high until you reach Stage 3 — about 4–6 minutes total.
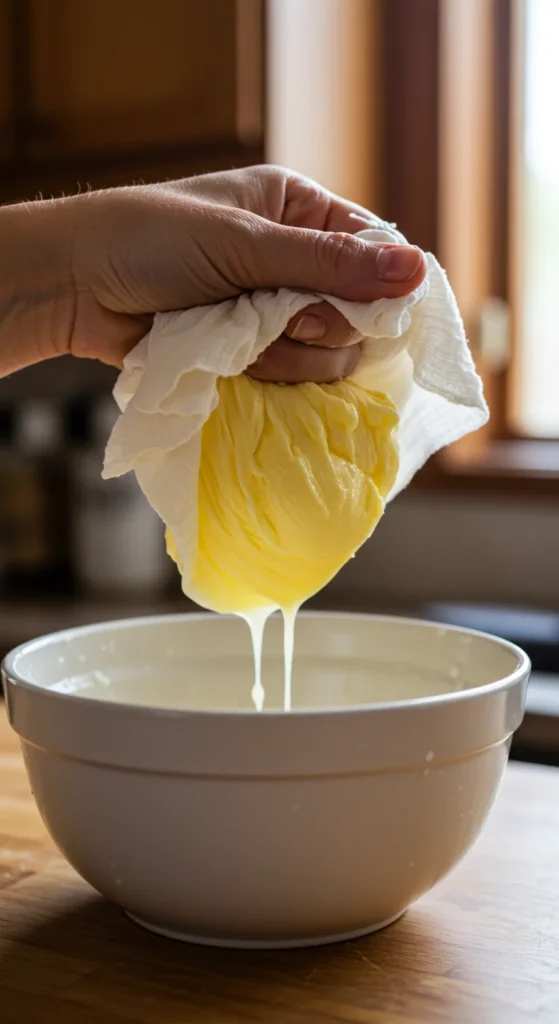
Step 3: Separate the Butter from the Buttermilk
Once the butter forms, you’ll see a pale yellow solid swimming in a milky liquid — that’s buttermilk, a tasty byproduct you can save for pancakes or biscuits.
Pour the mixture through a fine-mesh strainer or cheesecloth to catch the butter solids.
- The liquid that drains out is your homemade buttermilk — store it in a jar for baking later.
- The solid left behind is your fresh butter.
Give the butter a gentle squeeze with your hands or press it with a spoon to remove as much liquid as possible. The drier it is, the longer it’ll last.
Step 4: Wash the Butter
This step is key if you want butter that lasts longer and stays fresh.
Rinse your butter under cold water while pressing it gently with a spoon or spatula. Repeat until the water runs clear — this removes leftover buttermilk, which can spoil over time.
You’ll feel the butter firm up slightly as you rinse it.
Pro Tip: Use ice water for washing — it keeps the butter solid and prevents melting.
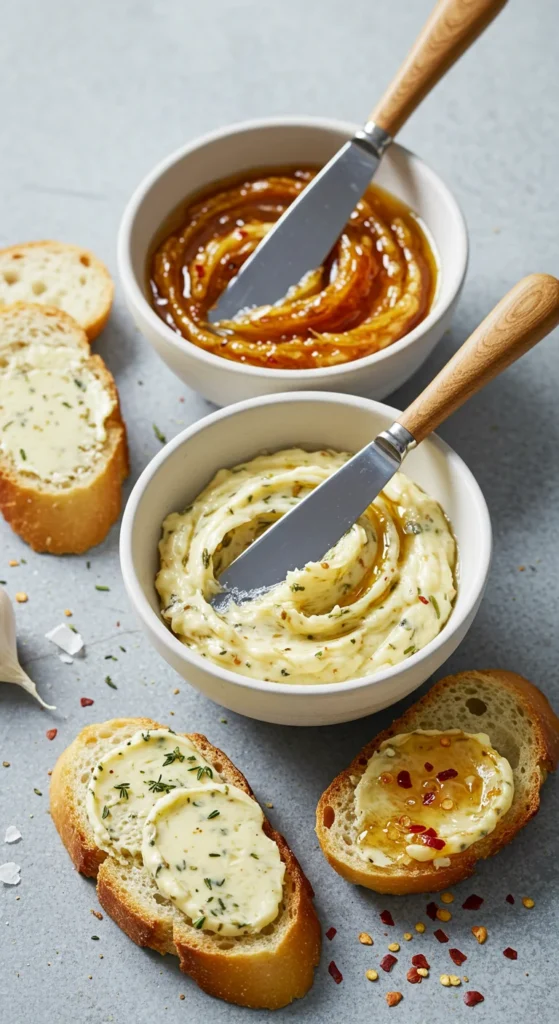
Step 5: Add Salt or Flavor (Optional but Delicious!)
At this point, you’ve got pure, unsalted butter. But why stop there? You can season it just like chefs do.
For salted butter:
- Add ¼ teaspoon of fine sea salt per cup of cream. Mix gently to combine.
For flavored butter:
Try stirring in:
- Minced garlic and herbs (for savory meals)
- Honey or cinnamon sugar (for sweet spreads)
- Chili flakes or smoked paprika (for bold flavor)
Step 6: Shape & Store
You can shape your butter however you like:
- Roll it into a log with parchment paper.
- Press it into a ramekin or butter mold.
- Scoop it into a jar for easy spreading.
Storage tips:
- Fridge: Keeps up to 1 week.
- Freezer: Up to 3 months (wrap tightly in plastic or parchment).
If you added herbs or fresh ingredients, use it within a few days for best flavor.

Step 7: Enjoy the Freshness
Now for the best part — tasting your creation! Spread it over warm toast, melt it on pancakes, or toss it with roasted vegetables. You’ll instantly notice how much fresher and creamier it tastes than store-bought butter.
And that’s the beauty of homemade: just one ingredient, a few minutes, and a result that feels like magic every time.
Bonus: What to Do with the Buttermilk
Don’t toss that liquid gold! Your leftover buttermilk can be used in:
- Pancakes or waffles
- Biscuits or scones
- Salad dressings
- Marinades for chicken
It adds a subtle tang and tenderness to baked goods — the secret ingredient in many classic recipes.
The Buttery Takeaway 🧈
Making homemade butter takes less time than brewing a pot of coffee — and the flavor is unbeatable. Once you see cream transform into golden butter before your eyes, you’ll understand why this kitchen trick has been around for centuries.
So grab that jar, shake it up, and taste the magic you made yourself.
Save this quick how-to for your next cozy weekend — fresh butter is just 10 minutes away!

Leave a Reply