
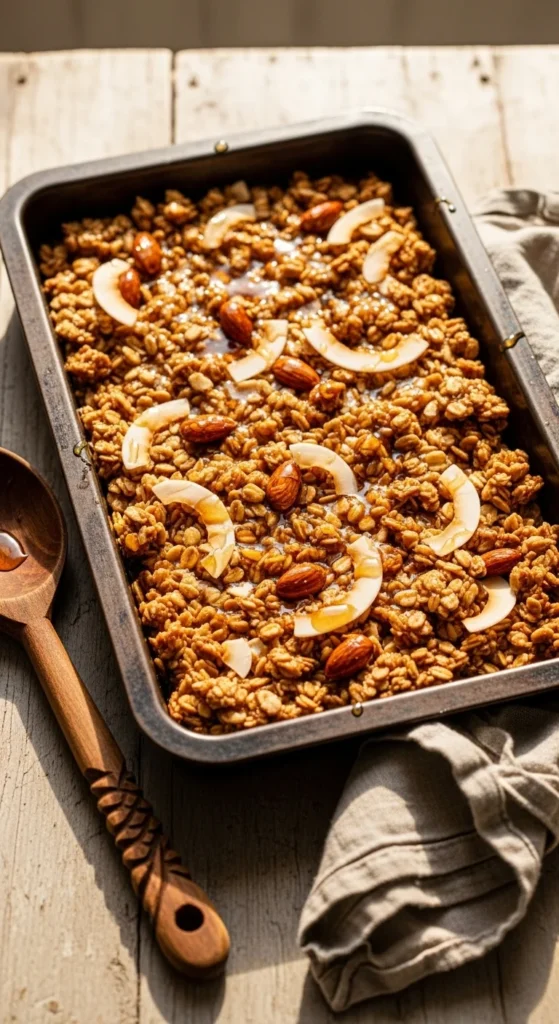
There’s something deeply satisfying about a tray of golden, crunchy granola fresh from the oven. The sweet aroma of oats, nuts, and honey toasting together can make your kitchen smell better than any bakery. Plus, once you learn how easy it is to make at home, you’ll never go back to store-bought.
This guide walks you through how to make granola that’s irresistibly crunchy—never soggy or flat. You’ll learn the secret to perfect clusters, the best mix-ins, and how to customize it for your favorite flavors.
Start with the Right Base
Every good granola starts with simple, wholesome ingredients. The base gives your granola texture and crunch, while a few additions add personality and flavor.
Here’s what you’ll need:
- Rolled oats: the foundation—avoid instant oats; they bake too quickly.
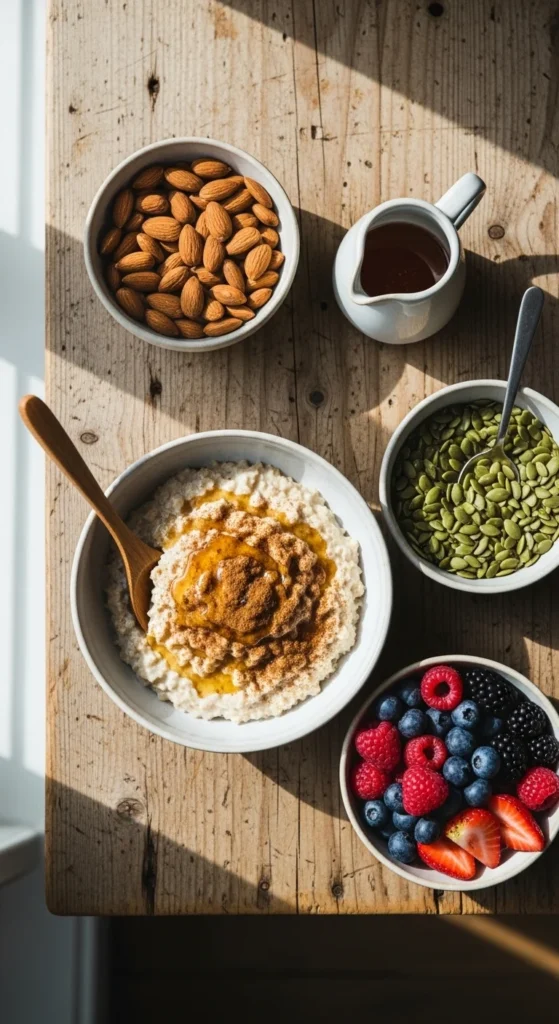
- Nuts and seeds: almonds, walnuts, pecans, sunflower seeds, or pumpkin seeds.
- Sweetener: honey, maple syrup, or brown sugar for that classic caramel crunch.
- Oil: coconut oil or olive oil helps it crisp up evenly.
- Salt: a pinch enhances every flavor.
Optional Mix-Ins
- Dried fruit (add after baking!)
- Coconut flakes
- Chocolate chips or chunks (also after baking)
- Spices like cinnamon or cardamom
The Secret Ratio
The key to granola that’s both crispy and chunky lies in balance. Here’s the golden ratio:
- 3 cups oats
- 1½ cups nuts and seeds
- ½ cup sweetener
- ⅓ cup oil
- ½ tsp salt
This ratio gives you big, crunchy clusters that stay crisp for days.
💡 Pro Tip: Want extra clusters? Don’t stir the granola too often while baking—let it form naturally.
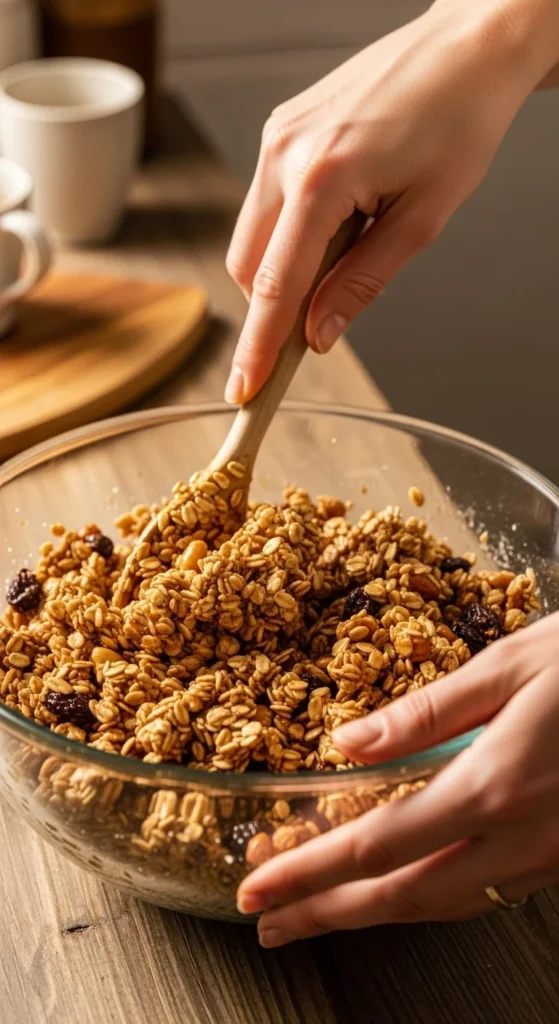
Step 1: Mix and Coat
In a large bowl, combine your oats, nuts, and seeds. Drizzle in the oil and sweetener, then sprinkle the salt and any spices you’re using (like cinnamon). Stir well until everything is evenly coated.
The mixture should feel lightly sticky but not wet—this ensures clumps form without becoming soggy.
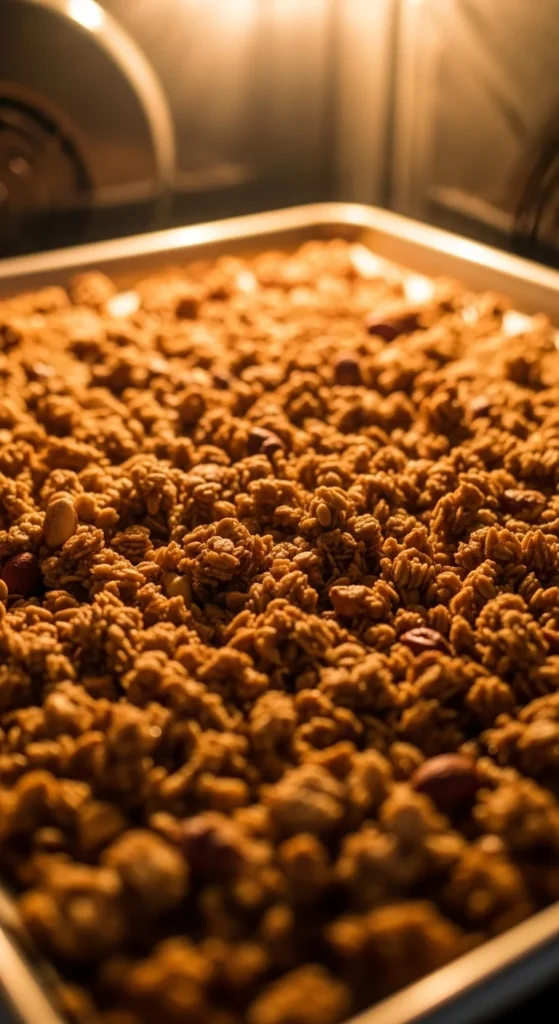
Step 2: Bake It Slowly
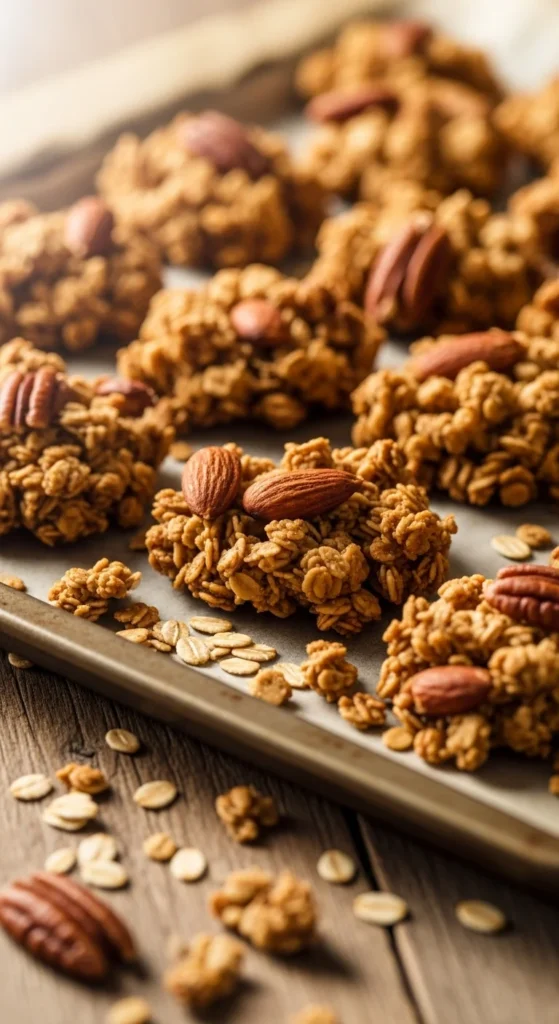
Spread your granola evenly on a parchment-lined baking sheet. The trick is low and slow baking—it helps develop deep, toasted flavor without burning.
Bake at 325°F (160°C) for 25–35 minutes, stirring once or twice.
You’ll know it’s ready when the edges turn golden and the kitchen smells amazing. It may still feel soft when you take it out, but it crisps up as it cools.
💡 Tip: For chunkier clusters, gently press the granola down with a spatula halfway through baking and avoid stirring again until it’s done.
Step 3: Cool Completely
This is the step most people rush—and it’s where crunch truly happens.
Let your granola cool completely on the tray before touching it. As it cools, the sugars harden and the oats crisp up. Break it into clusters only after it’s fully cooled.
If you stir too soon, you’ll lose that signature crunch!
Step 4: Customize the Flavor
Once your granola is cooled, it’s time to make it your own. Mix in dried fruit, coconut flakes, or chocolate chips to match your mood or season.
Here are a few flavor combos to try:
- Maple Pecan Crunch: Add cinnamon, chopped pecans, and a drizzle of maple syrup.
- Tropical Morning: Mix in coconut flakes, macadamia nuts, and dried pineapple.
- Chocolate Almond: Stir in cocoa powder before baking and mini chocolate chips after.
- Cranberry Pumpkin Seed: Use honey and toss in dried cranberries and pepitas.
The best part? Once you master the basic technique, the flavor options are endless.
Step 5: Store It Right
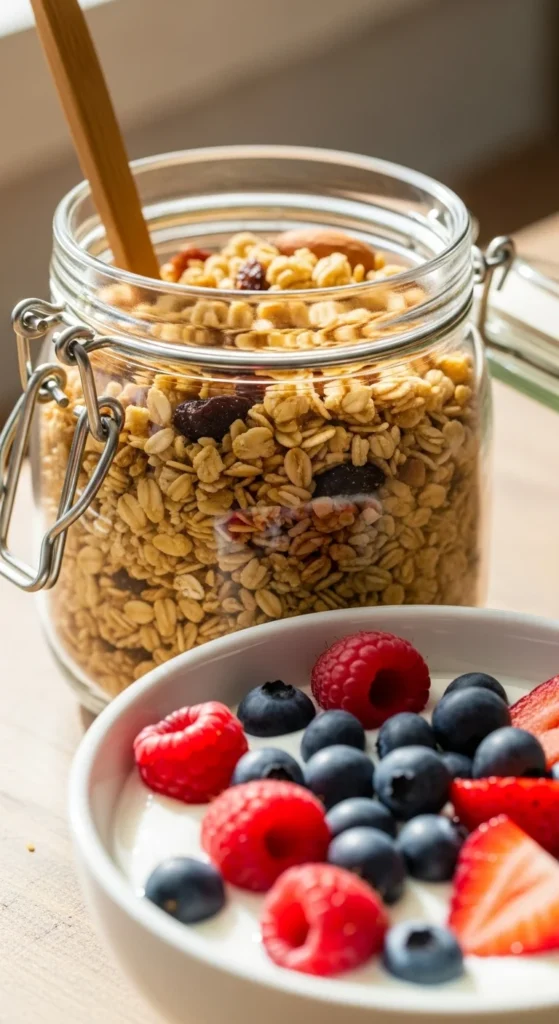
Homemade granola stays fresh for weeks—if you store it properly.
- Keep it in an airtight container at room temperature.
- Store in a cool, dry spot (not the fridge, which can add moisture).
- For extra-long freshness, freeze it for up to 3 months.
💡 Serving Ideas:
- Sprinkle over yogurt with fresh fruit.
- Pour milk over it for a quick breakfast.
- Pack it as a crunchy trail snack.
Common Granola Mistakes to Avoid
Even simple recipes have pitfalls. Here’s what to watch out for:
- Overbaking: It burns quickly near the end—keep an eye on the edges.
- Using too much liquid: Too much oil or sweetener makes it sticky instead of crisp.
- Skipping the cool-down: It won’t firm up properly if you rush.
- Adding fruit too early: Dried fruit burns easily—stir it in only after baking.
Fix these, and you’ll have bakery-worthy granola every time.
Why Homemade Granola Beats Store-Bought
Store granola is often loaded with excess sugar, oil, and preservatives. When you make your own, you control the ingredients—and it tastes fresher, crunchier, and more natural.
Plus, it’s cheaper, endlessly customizable, and makes a beautiful homemade gift in a jar with a ribbon.
Final Scoop
Making crunchy homemade granola isn’t just about the recipe—it’s about the process: the scent of oats toasting, the golden color deepening in the oven, and the satisfying crunch when it cools.
Once you make your first batch, you’ll find excuses to bake it again and again.
So grab a mixing bowl, warm up the oven, and get ready to fill your kitchen with the smell of cozy, golden goodness.
Save this recipe for later—and make your mornings deliciously crunchy!

Leave a Reply